
Profiles
A profile is a named set of the keyboard’s settings: its lighting, key mapping and macros, and a screen picture if you want. Load a profile and the keyboard gets all of them in one go, for example one set for work and another for games.
What you see
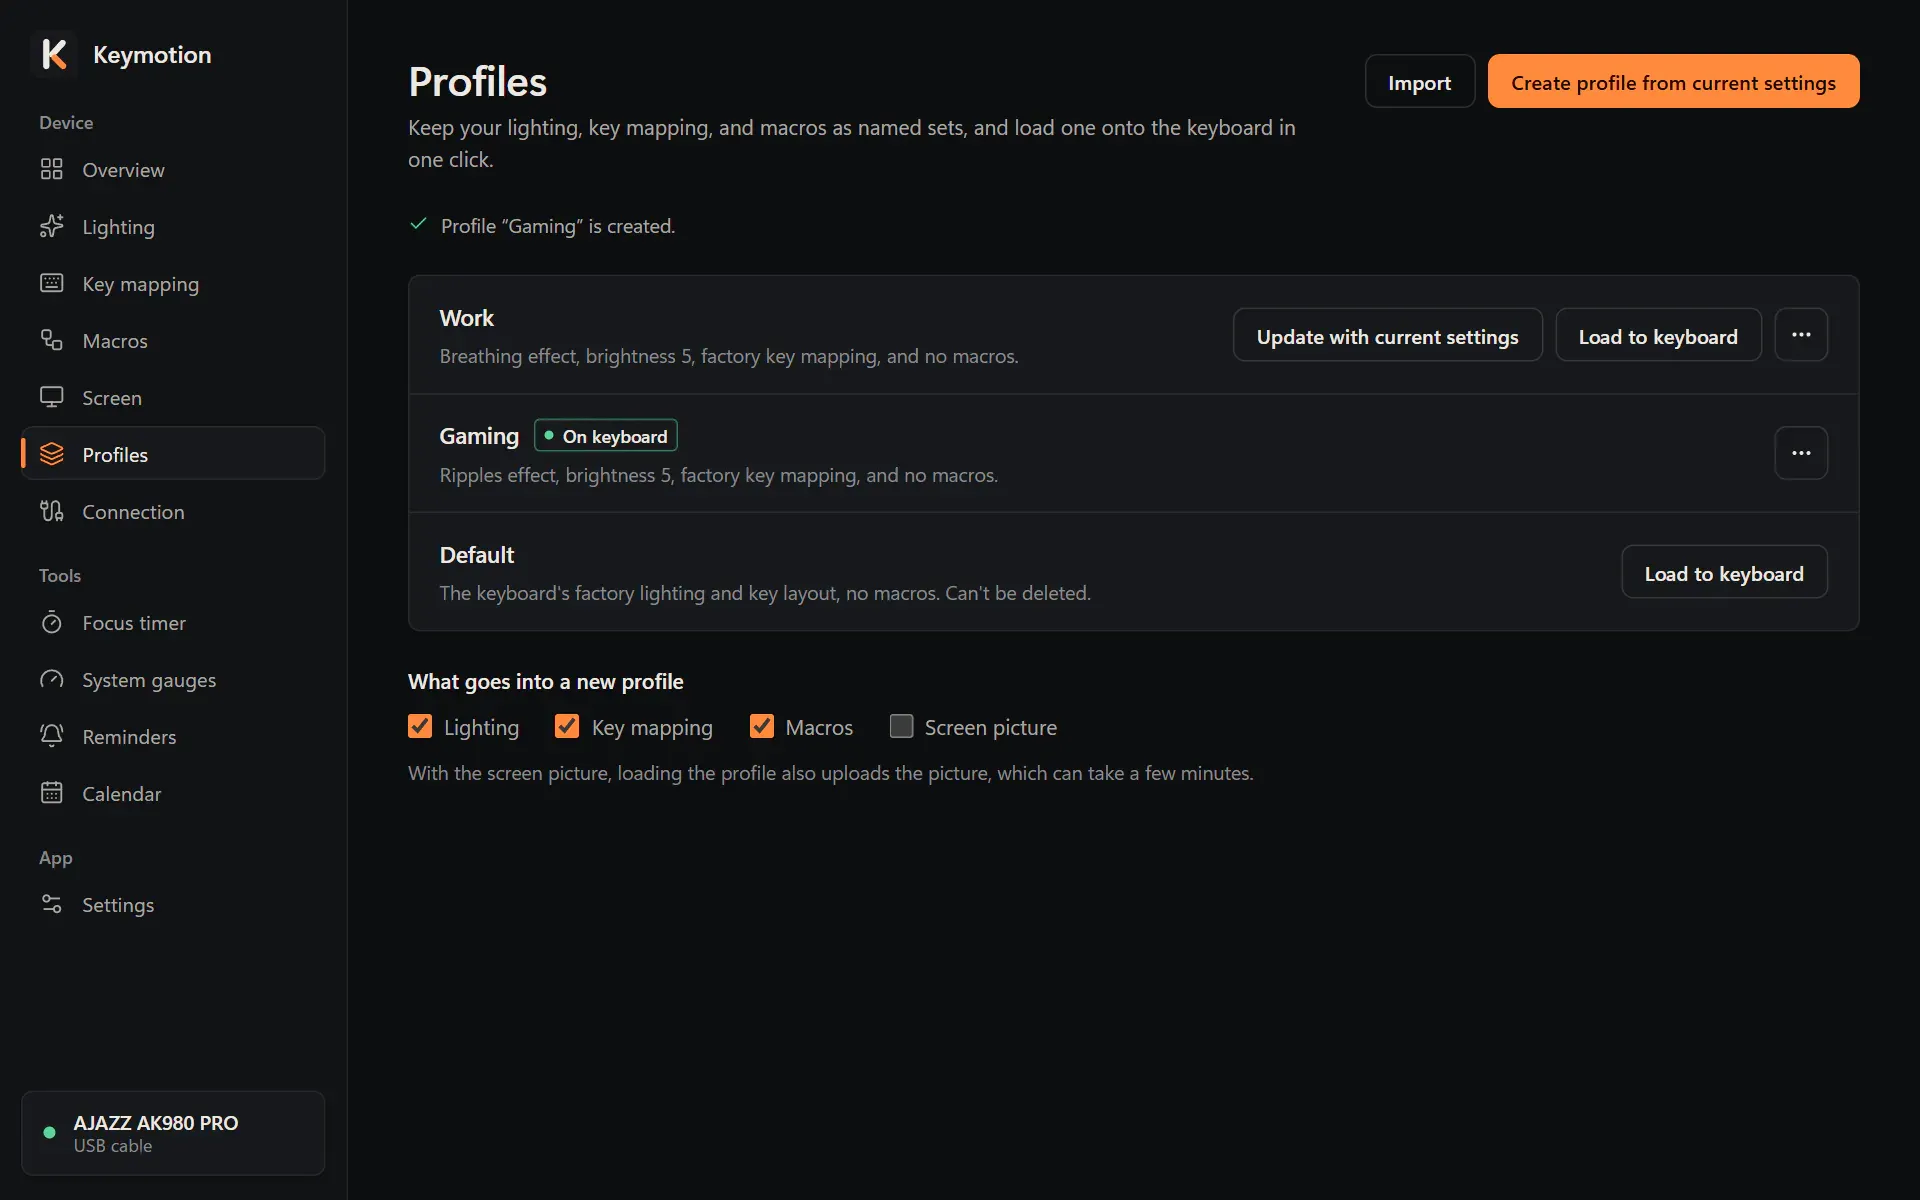
Section titled “What you see”Each row has the profile’s name and one sentence on what it holds, for example Breathing effect, brightness 4, 3 key mapping changes, and 2 macros. On keyboard marks the profile whose settings all match what is on the keyboard now.
The Default profile is always at the bottom. It holds the keyboard’s factory lighting and key layout, and no macros. It can’t be renamed, changed or deleted, so loading it is a way back to the factory lighting and keys.
Under the list, What goes into a new profile sets the parts a new profile takes: Lighting, Key mapping, Macros and Screen picture. The first three are ticked at first. With Screen picture ticked, loading the profile also uploads the picture to the keyboard’s screen, which can take a few minutes.
Create a profile
Section titled “Create a profile”A profile takes the settings Keymotion last saved to the keyboard. Changes you haven’t saved yet don’t go into it.
- Save the lighting, keys and macros you want on their own pages.
- Under What goes into a new profile, tick the parts the profile should hold.
- Click Create profile from current settings.
- Type a name under Profile name, or keep the suggested one. The line under the field says what the profile will include, and why a part is left out, for example when no lighting has been saved from the app yet.
- Click Create. Cancel leaves without creating anything.
Each name can be used once, with up to 40 characters. You can keep up to 100 profiles.
Load a profile onto the keyboard
Section titled “Load a profile onto the keyboard”Loading saves the profile to the keyboard’s memory, like the save buttons on the other pages. It needs the USB cable, with the switch on the back in the middle.
- Click Load to keyboard in the profile’s row.
- Read the confirmation under the row. It lists what will be saved, says whether the screen picture changes and whether unsaved changes in those areas will be discarded, and how long it takes.
- Click Load to keyboard again, or Cancel.
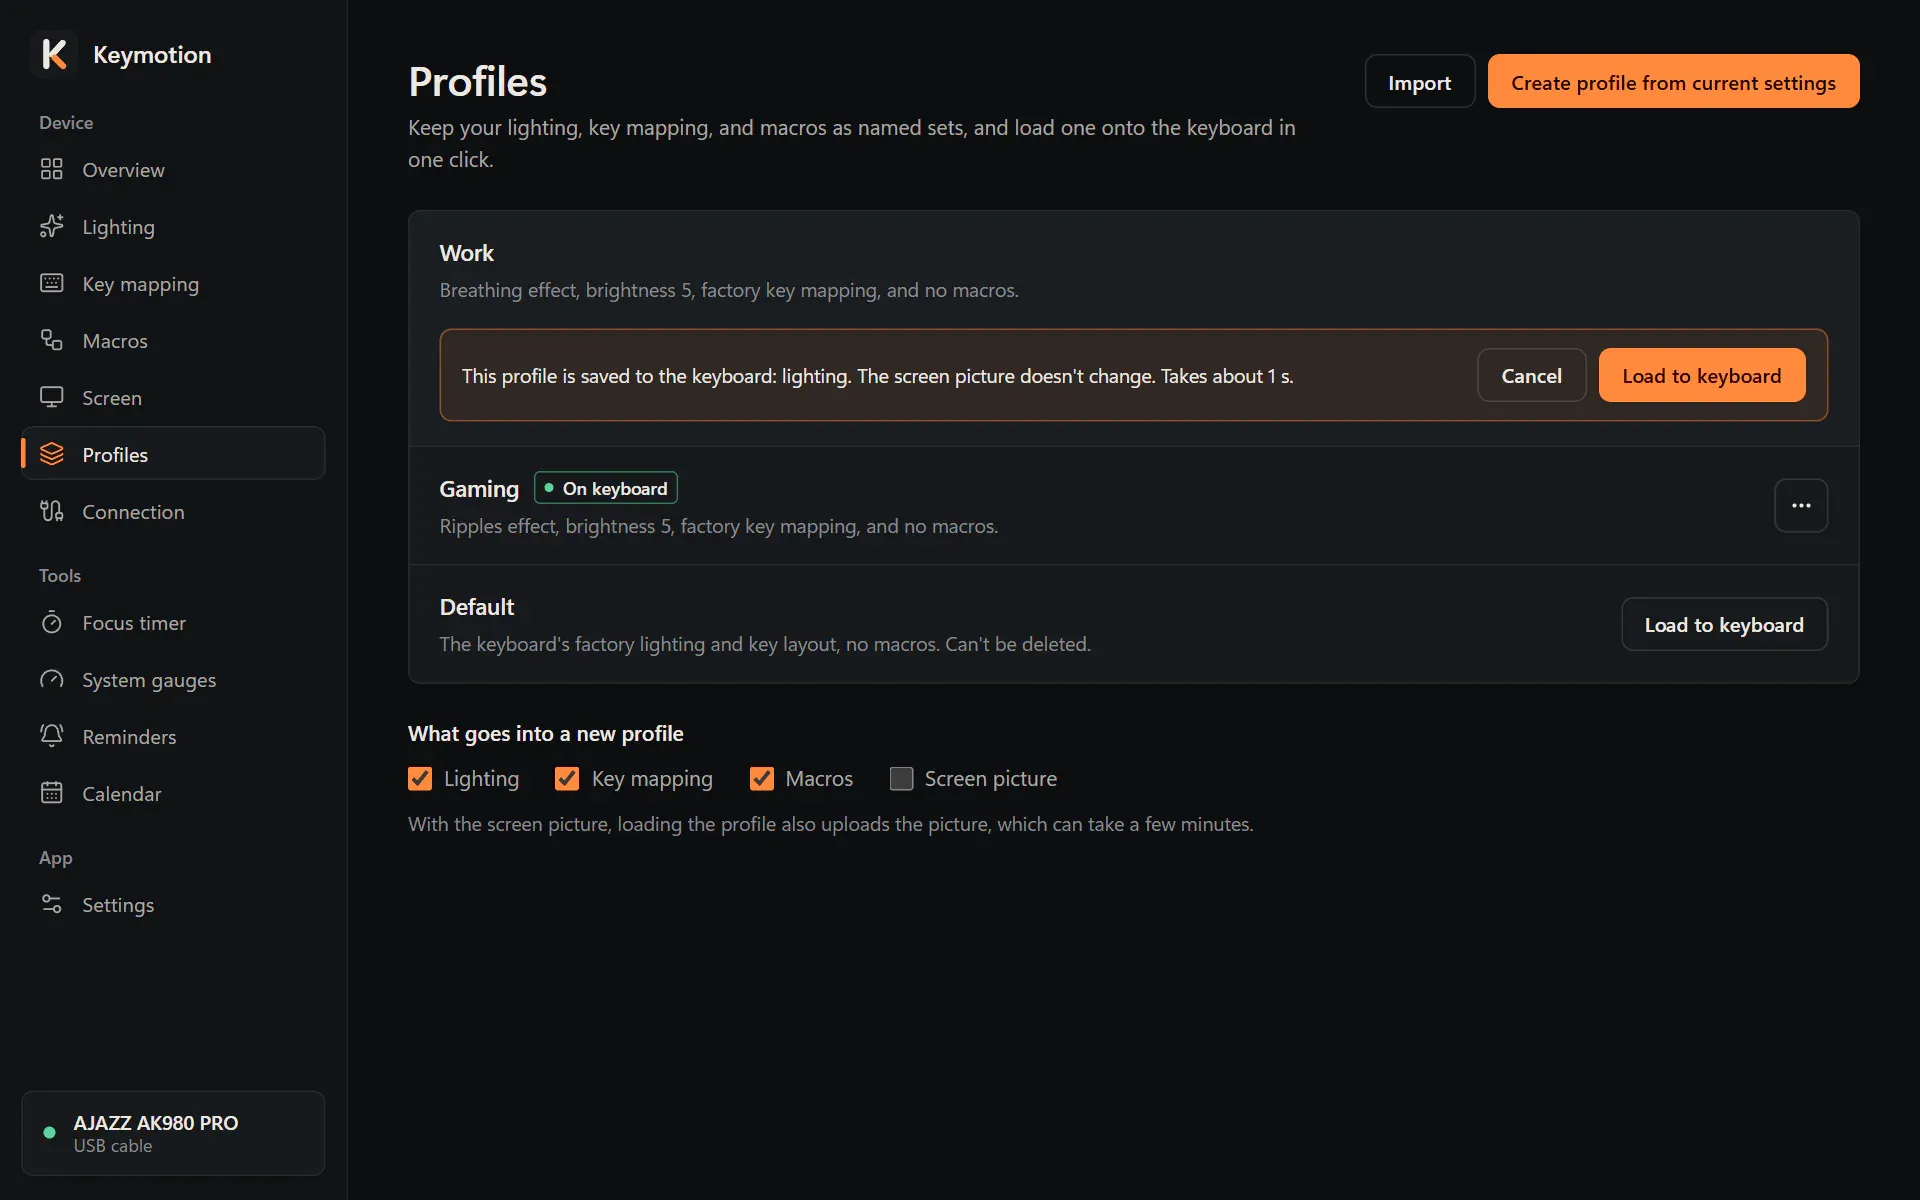
Only the parts that differ from the keyboard are saved, one after another. The row shows each part as it goes; Cancel stops before the next part, and the parts already loaded stay on the keyboard. When it is done, a line at the top of the page says the profile is loaded. If the screen picture was loaded too, it also tells you to press Fn+Home on the keyboard to see the GIF page.
You can also choose a profile from the menu of Keymotion’s icon next to the clock, under Profiles. That opens this page at the profile’s confirmation, and nothing is saved until you confirm.
Change, copy, export or delete a profile
Section titled “Change, copy, export or delete a profile”- Update with current settings replaces the parts the profile holds with the settings Keymotion last saved to the keyboard. Confirm with Update.
- The ⋯ button opens more options:
- Rename lets you type a new name and Save it.
- Duplicate adds a copy, named after the original with “copy” at the end.
- Export saves the profile as a file in your Downloads folder. Show in folder opens the folder.
- Delete asks first. A deleted profile can’t be brought back.
Import a profile
Section titled “Import a profile”Import, at the top of the page, adds a profile from a file that Keymotion exported, for example on another computer. If the profile has a screen picture, the picture goes into your library too.
A backup file is not a profile: open it with Restore from a backup on the Settings page. A profile saved by a newer version of Keymotion needs an update of the app first.